Trigger Extension
Working with Trigger Extension in XtendM3
Table of contents
- Description
- Use cases
- Important note
- Step by step implementation
- Use cases and short summary
- Extension code example
Description
Trigger Extension is a simple type of extension, that consists in the execution of certain procedures in the designed extension, at the designated moment of program operation. It needs an extension point, at which methods will be executed and triggerred by M3. It is used to modify or extend M3 Business Logic. Trigger extension can use a lot of useful APIs, which have various uses depending on the user needs.
Use cases
- Expanding the functionality
- Modifications to the operation at a given extension point
- Allows implementation of functionality without changing the M3 itself at the source code
Important note
Always test the examples for your own solution before using them in production.
Step by step implementation
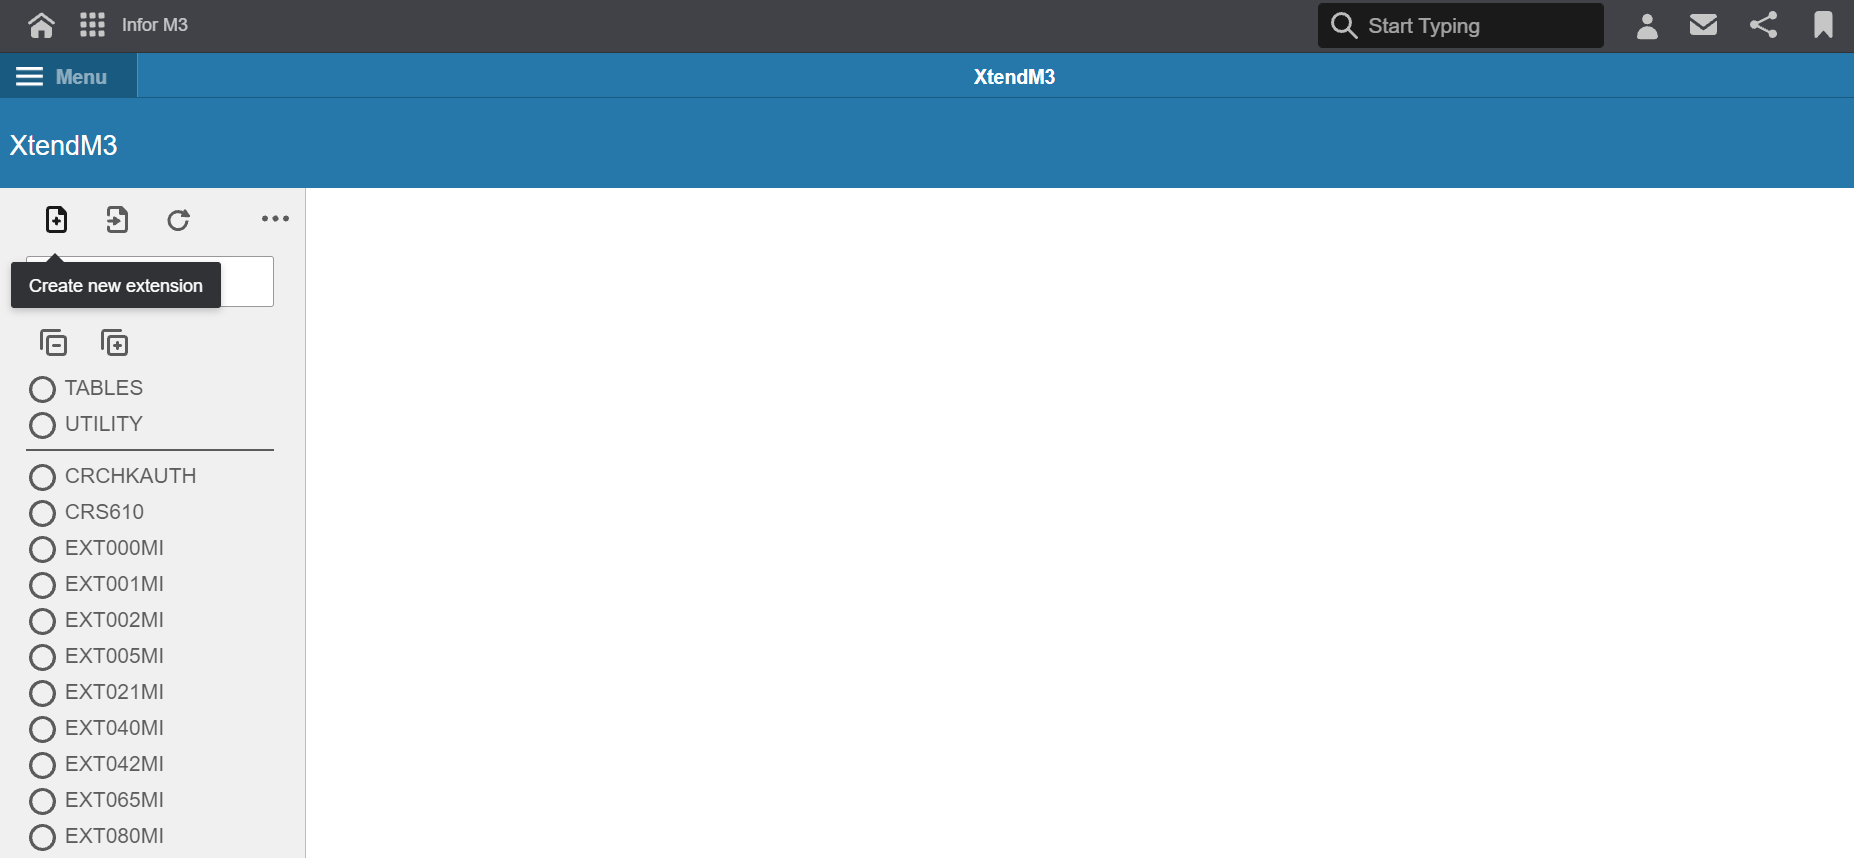
1. Create new extension
After opening the main window with the access to the M3, it is needed to enter the Administration Tools section inside the table on the left side of the screen. After that select XtendM3.
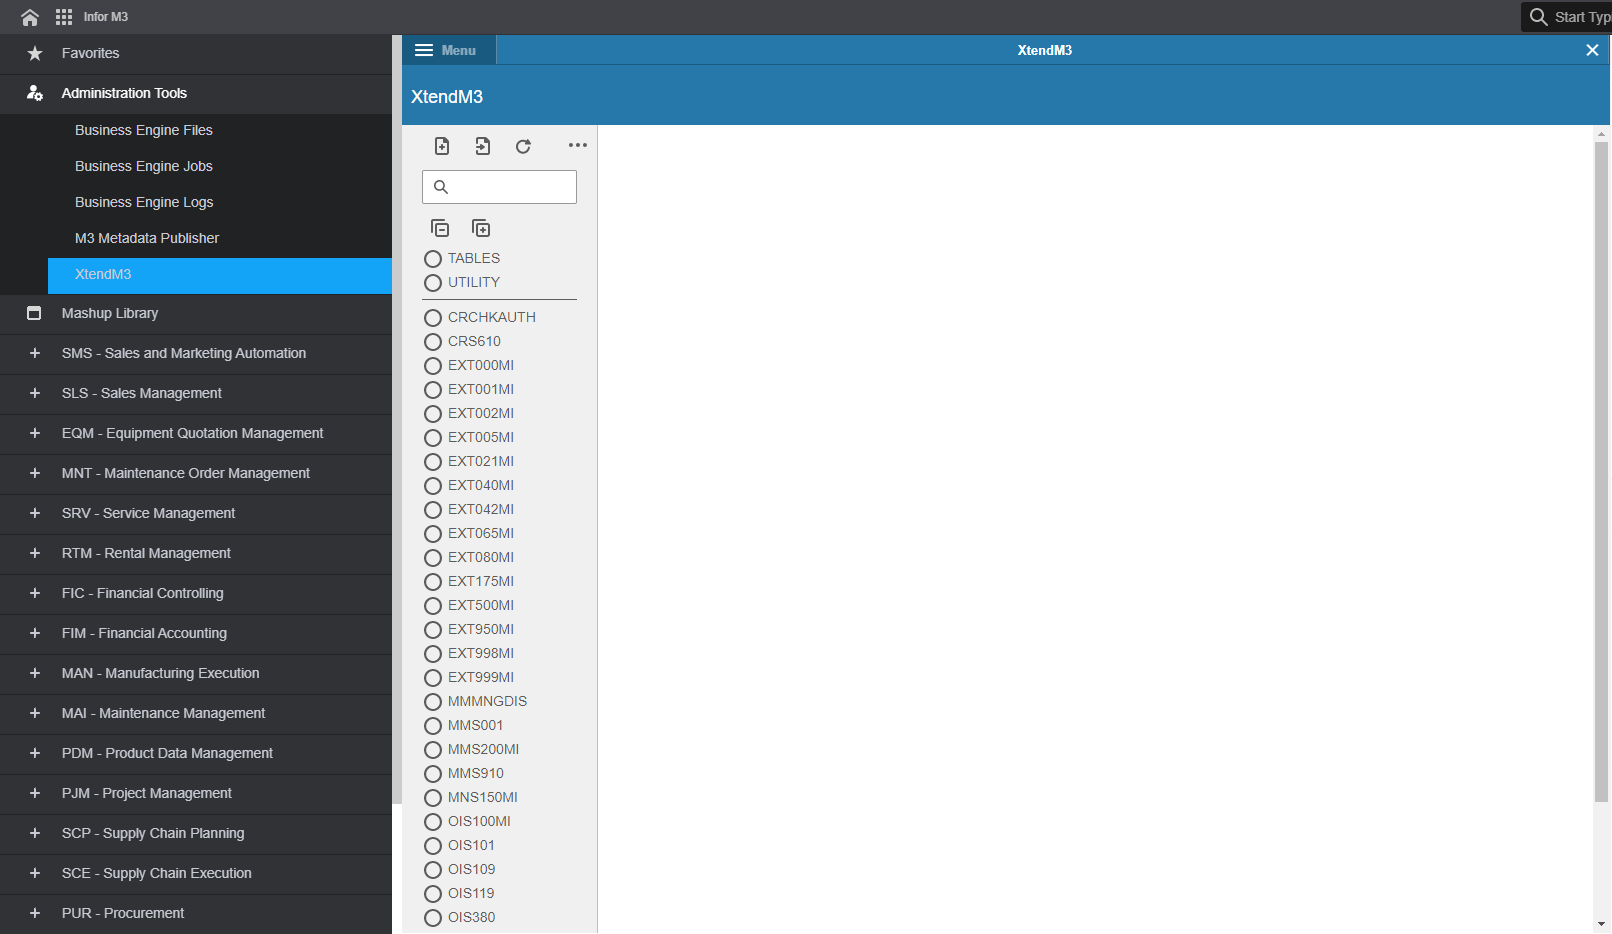
To create a new extension press the “Create new extension button” as shown on the screen below:
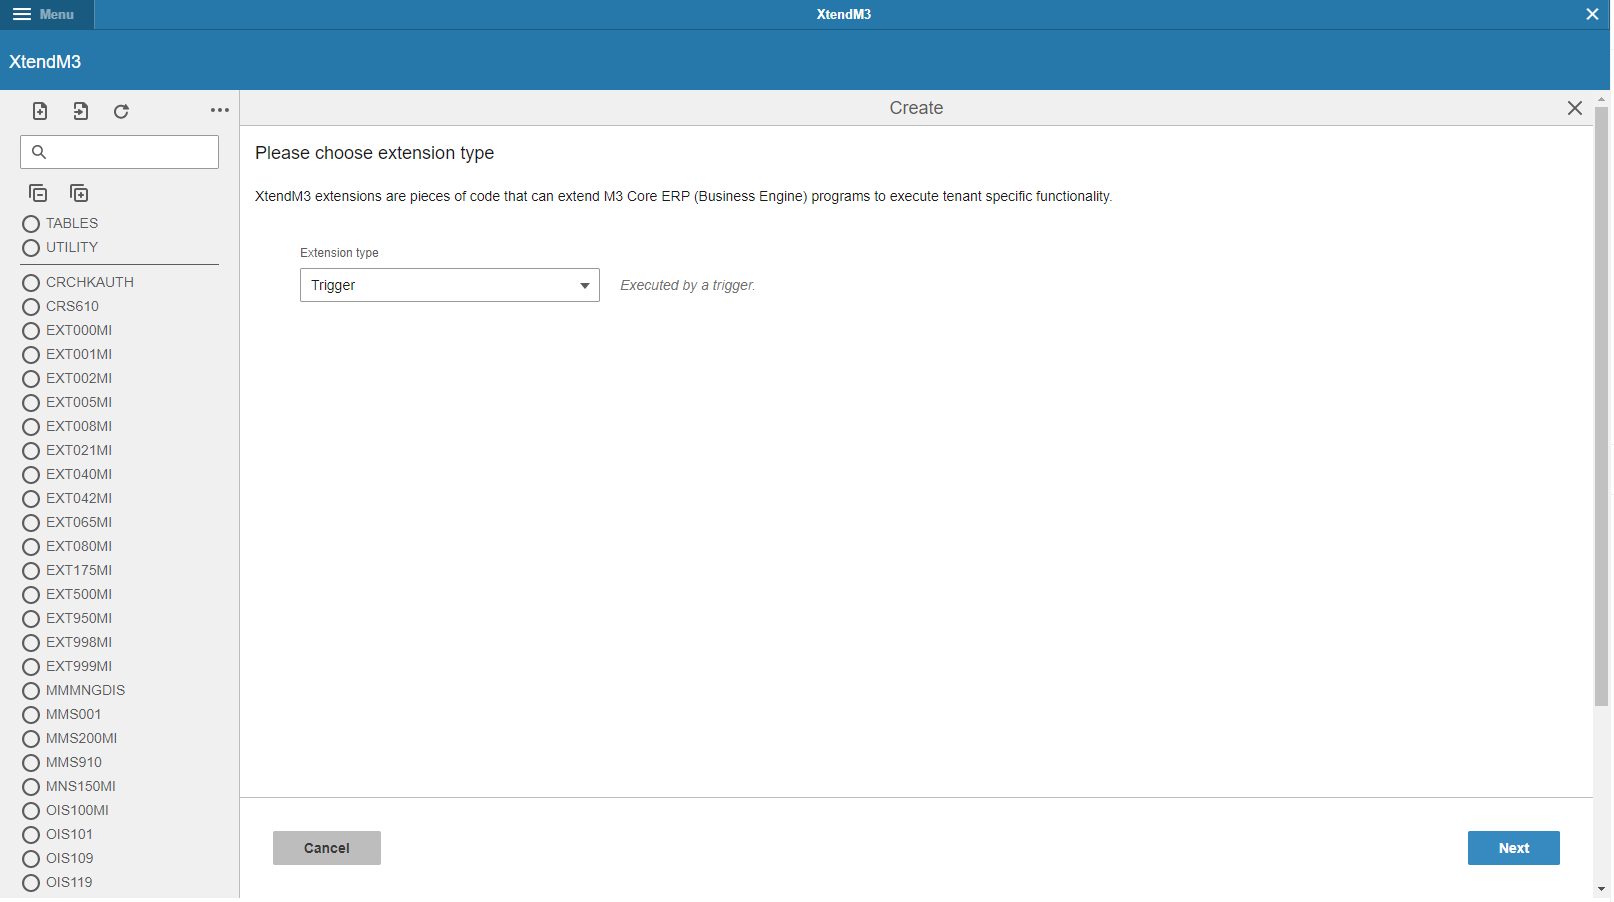
2. Extension Type as a trigger extension
Opened window displays an option to select the type of extension to be designed. Select “Trigger” as described “Executed by a trigger” and then click next.
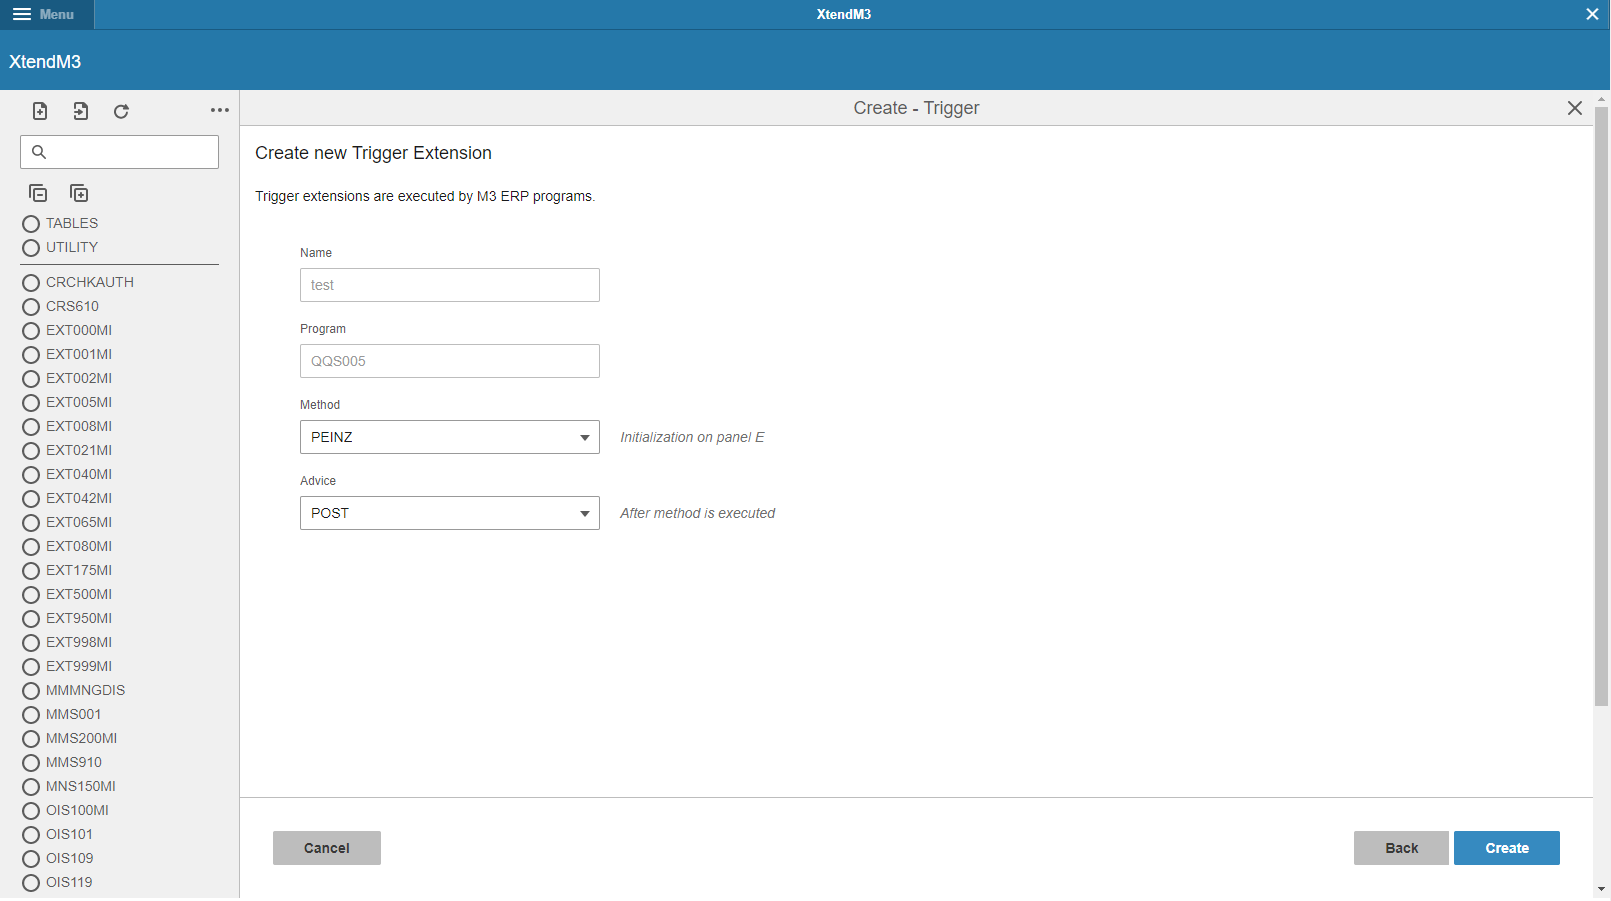
3. Completing all inputs and description of them
The next window will require to fill in some data:
- Name of the extension
- Program name where to implement designed extension
After clicking “Next” button, another options will be displayed - Method of the extension point
- Advice for the extension method

Depending on the selected program, a lot of methods can be available concerning operations of the M3 at the extension point. The example presents usage of interactive pop up window extension inside the program. It is needed to choose the PEINZ from the method panel. Method PEINZ means initialization of the designed event at the E panel:
- P as the panel word
- E as the name of the Panel
- INZ as the initialization
There are also several methods similar to PEINZ like PEUPD or PECHK. All vary according to the type of method and the panel on which the extension point occurs. All available methods depend on the selected program. The last box describes usage of selected method. It asks if the extension point should be before “PRE” or after “POST” selected method.
After inputting all necessary data click create button New extension is created. Now it is time to implement the functionality of the new extension.
4. Skeleton of the extension
Created extension will contain default code template extended by the ExtendM3Trigger. Here is the place to implement the new extension.
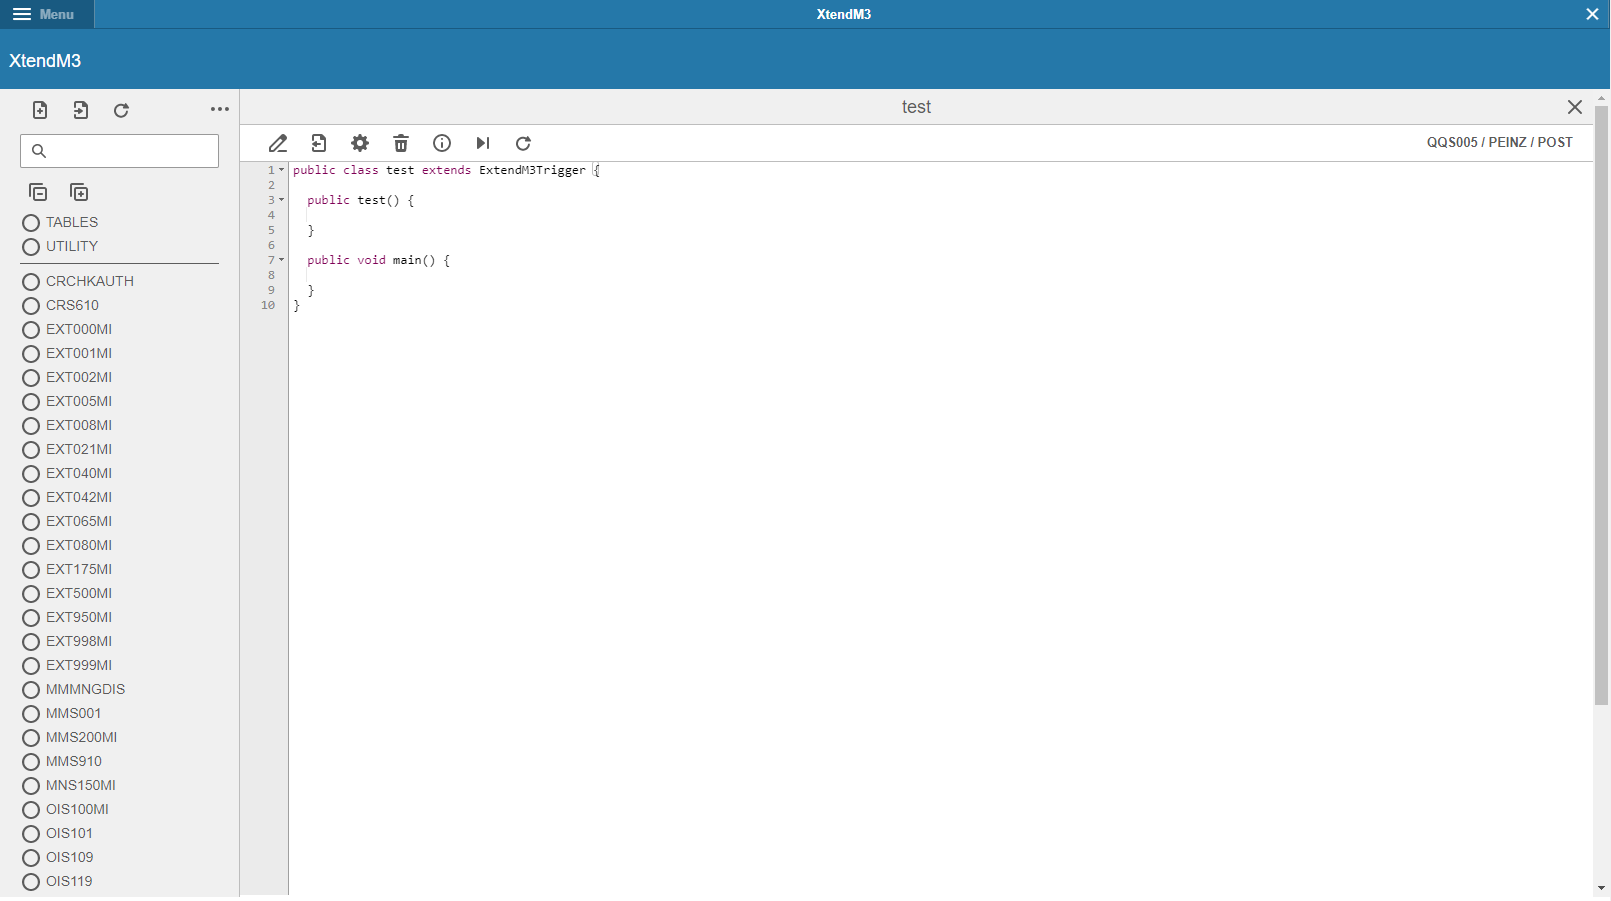
Over the code field there are several tools by which it is possible to modify the options of the designed extension

Listing them from the left side they are used to:
- enable editing mode
- export the code
- extra settings to change the parameters of the extension or enable it etc.
- delete the extension
- get information about the extension’
- test compile
- refresh
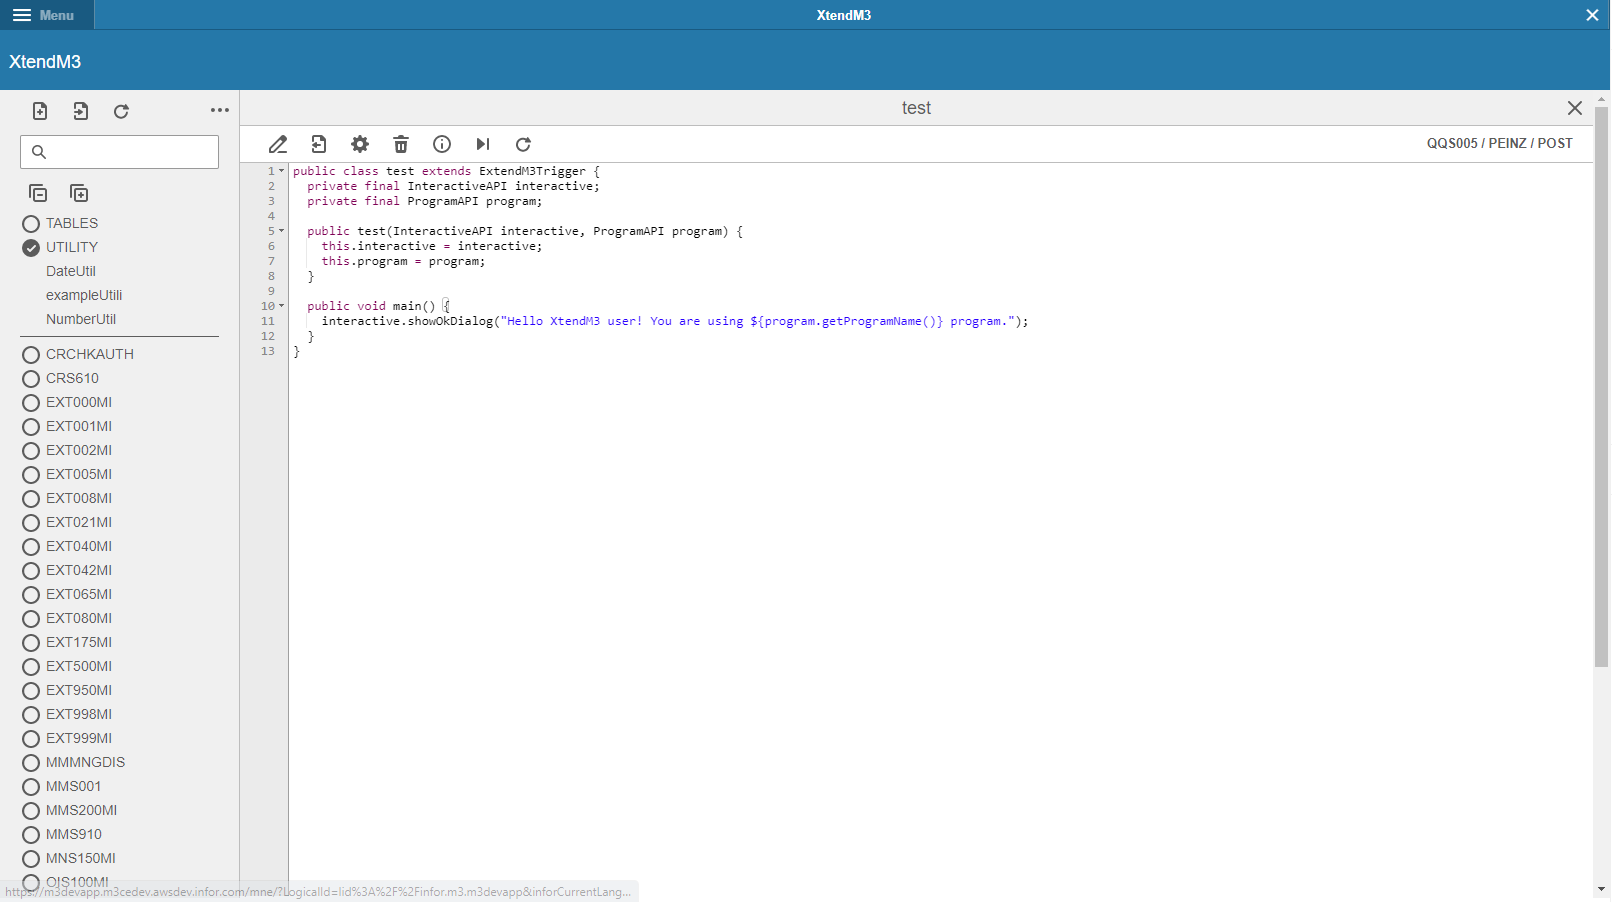
5. Example of trigger extension and usage of APIs
To start working with code of the new extension, the first thing to do is to enable edit mode. After that it is possible to implement the designed functionality. It is recommended to implement created for XtendM3 APIs to exploit the full potential of the extension. Several APIs are described in the documentation at the link. In the presented example the ProgramAPI and the InteractiveAPI are used to create a pop up message with the welcome text and the information about running program. To implement these APIs it is needed just to include them as new objects inside the constructor of the extension and implement all the designed functionality of it inside the main() method as at below screen:
After implementing functionality it is needed to save the extension. If it is written correctly there should be a message with the proper information with success. In case of error, the appropriate error message will appear and the implementation will not be saved until the error is resolved. After saving an extension it is a good practice to use a test compilation of the program just to check if everything is working properly.
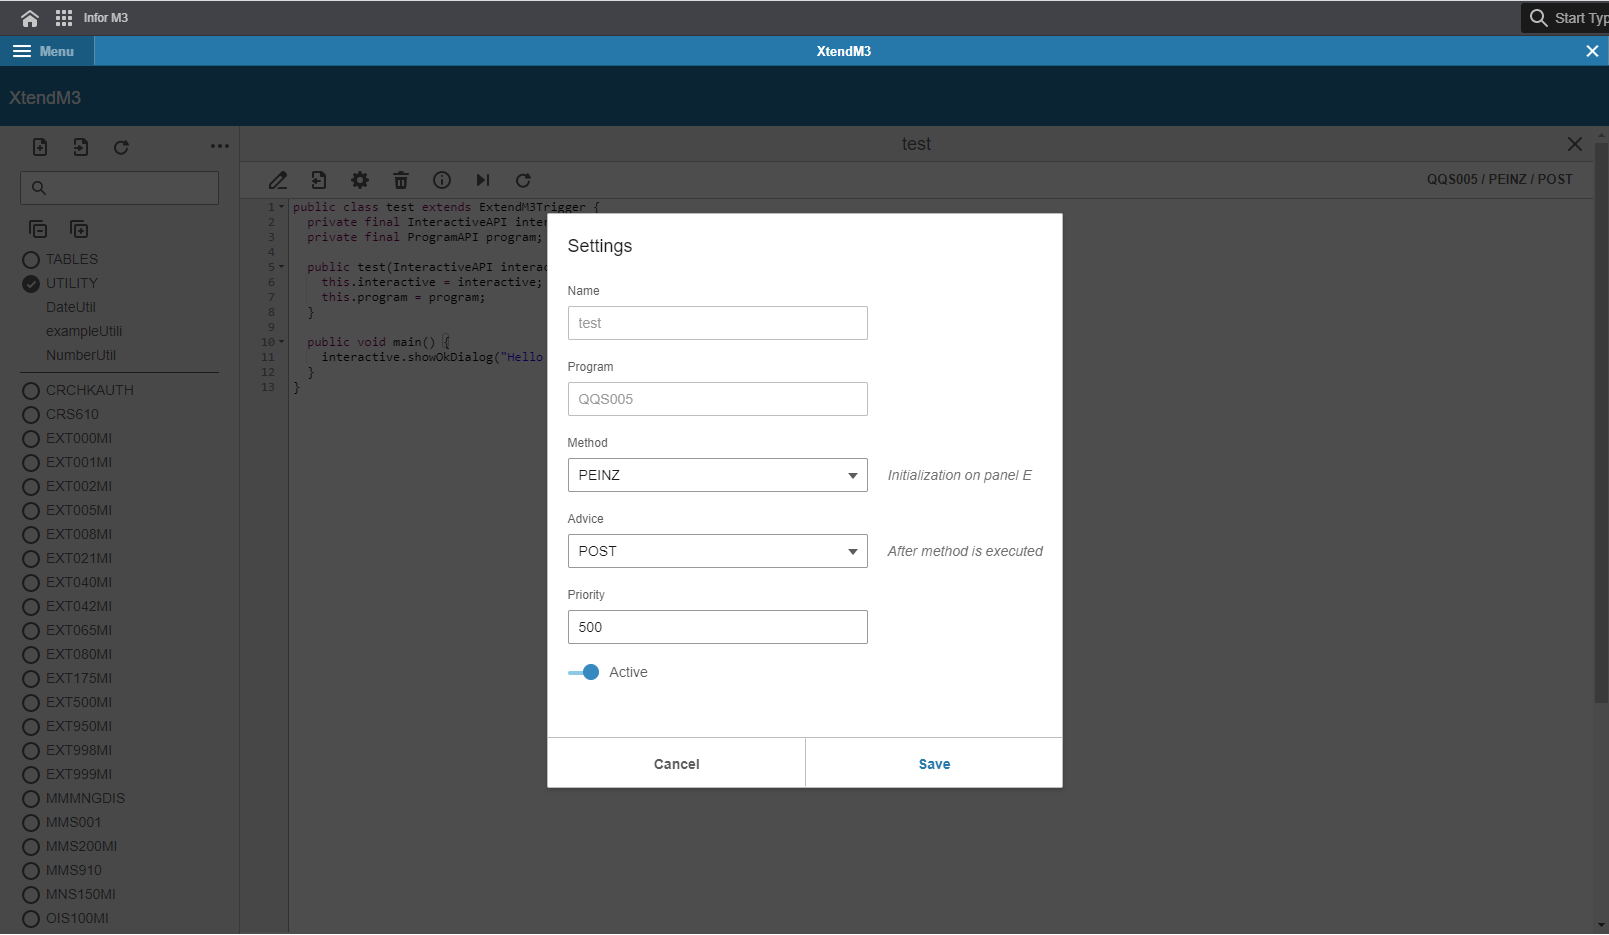
6. Activation, Funcionality and description of designed extension
The next step is to activate the extension. It can be activated inside the settings panel of the extension. To activate the extension, the activate slider needs to be turned on.
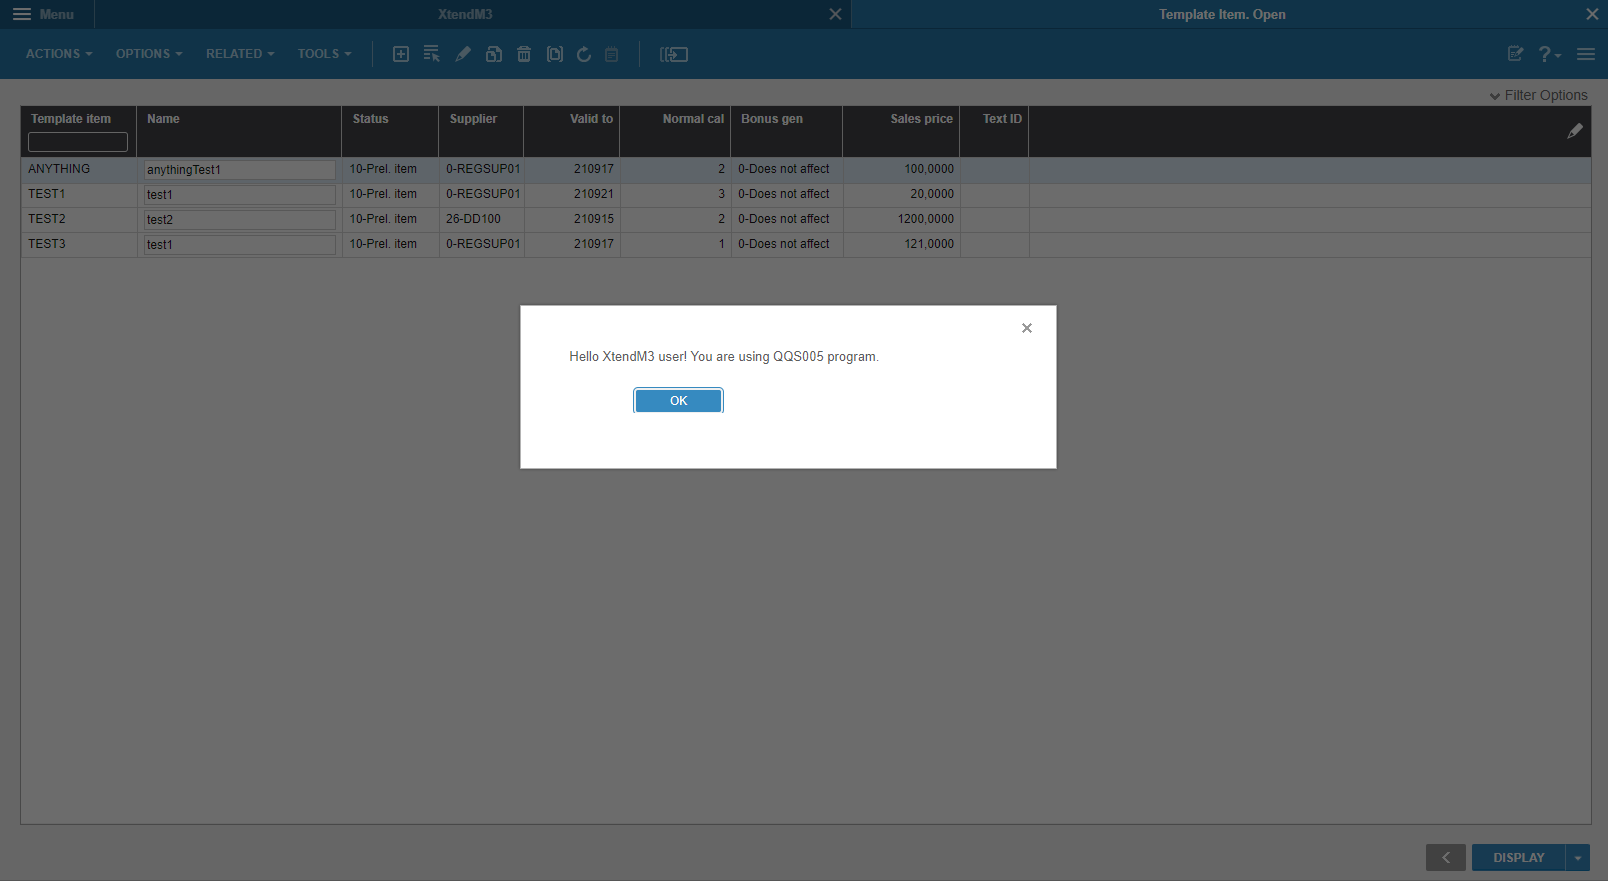
After that it is possible to run the program with activated extension by using CTRL+R key combination and inputting the name of the program. While the program is running, the new implemented extension can be tested by the user. In this example the message is popped up on the panel E after execution of the extension method.
7. Important notes
- It is a good practice to use a test compilation of the program just to check if everything is working properly.
- Data presented in the examples are random.
Use cases and short summary
There are many diffrent uses for a trigger extension, depending on the needs of the project. The assumptions for the implementation of an extension may relate to the data operations in the program, setting the accessibility for users or just to show specific information while performing some actions inside the program. Each assumed functionality must have its place in the program - the extension point, where it will be activated depending on the program. Trigger extensions can be very simple but they also can be much more complex. Step by step implementation is very similar with the diffrence in chosen method of the extension and usage of APIs. Designed code includes a lot of diffrent names that refer to specific data in the database. All extensions are connected to programs and their implemented methods at the extension point. These two things are very important while designing extensions with XtendM3.
Extension code example
Here is an overview of the designed extension.
Example:
public class test extends ExtendM3Trigger {
  private final InteractiveAPI interactive;
  private final ProgramAPI program;

  public test(InteractiveAPI interactive, ProgramAPI program) {
    this.interactive = interactive;
    this.program = program;
  }

  public void main() {
    interactive.showOkDialog("Hello XtendM3 user! You are using ${program.getProgramName()} program.");
  }
}
Exported Extension
See Also
Extension APIs documentation (click)
Another examples with documentation (click)