Dynamic Table Extension
Working with the Dynamic Tables in XtendM3
Table of contents
- Description
- Use cases
- Step by step implementation
- Example of dynamic table extension
- Important notes
- See Also
Description
Dynamic Table Extension is a type of extension, that allows user to create a new custom table, which can be used in data operations. It can be used multiple times from all the programs/extensions, not only inside a single created extension. All data can be operated using the DatabaseAPI. Dynamic tables bring flexibility when it comes to CRUD operations and data storage by being a user-custom table.
Use cases
- Expanding the data functionality
- Creating custom data model on top of standard M3
- Storing additional attributes for M3 data in own managed tables
- Support for storing both master and transactional data
Step by step implementation
1. Create new extension
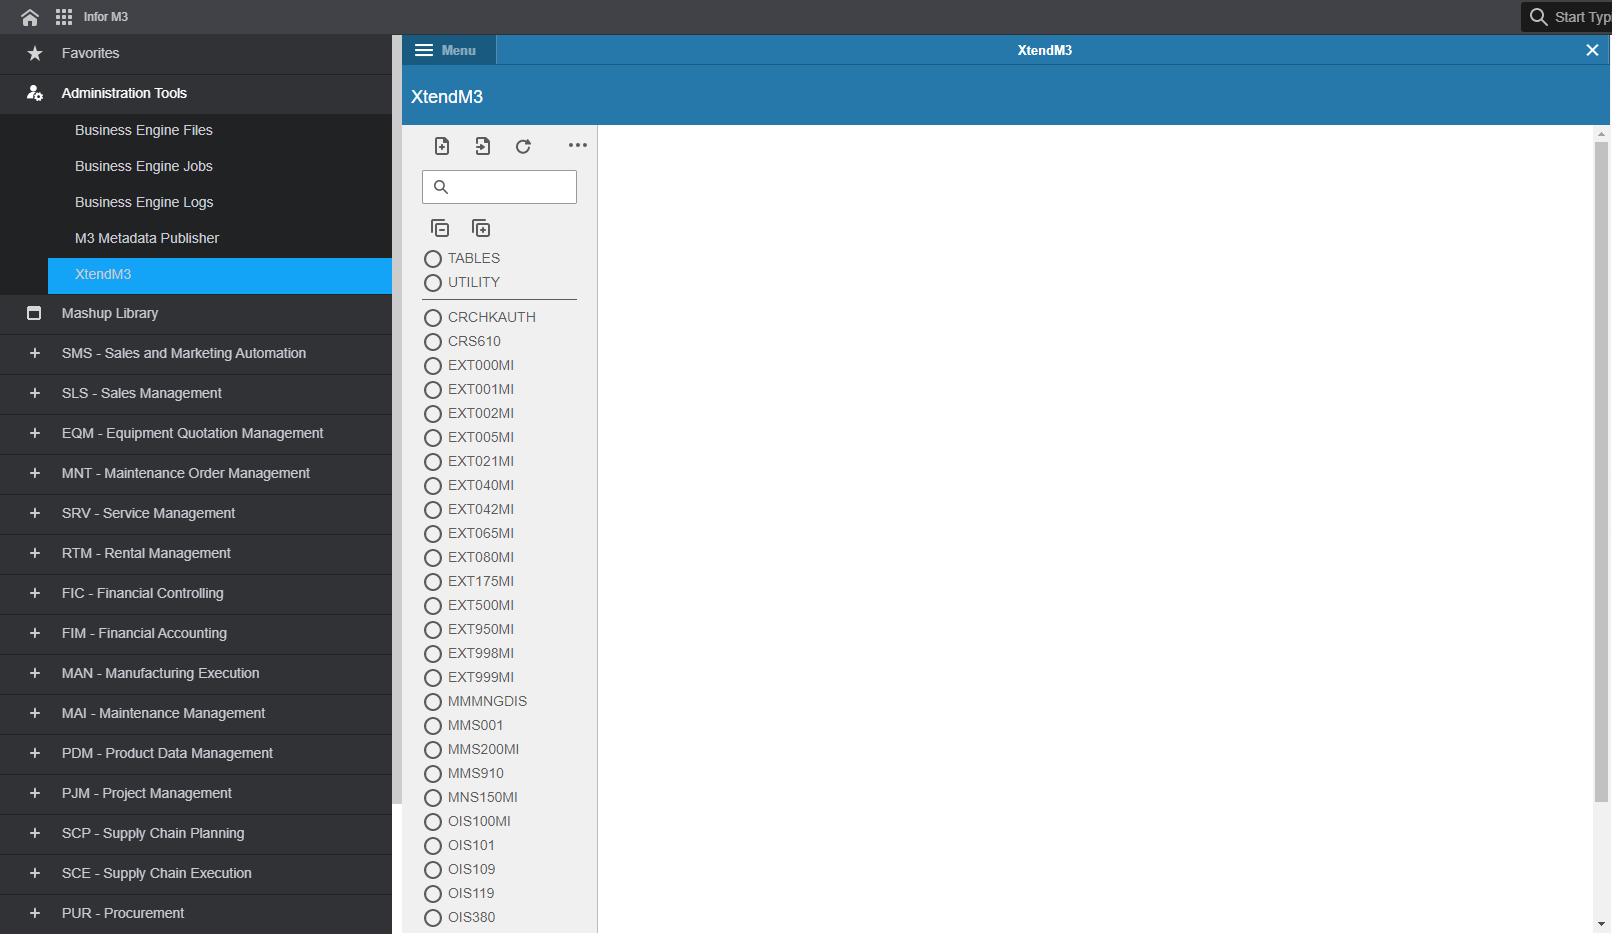
After opening the main window with the access to the M3, it is needed to enter the Administration Tools section inside the table on the left side of the screen. After that select XtendM3.
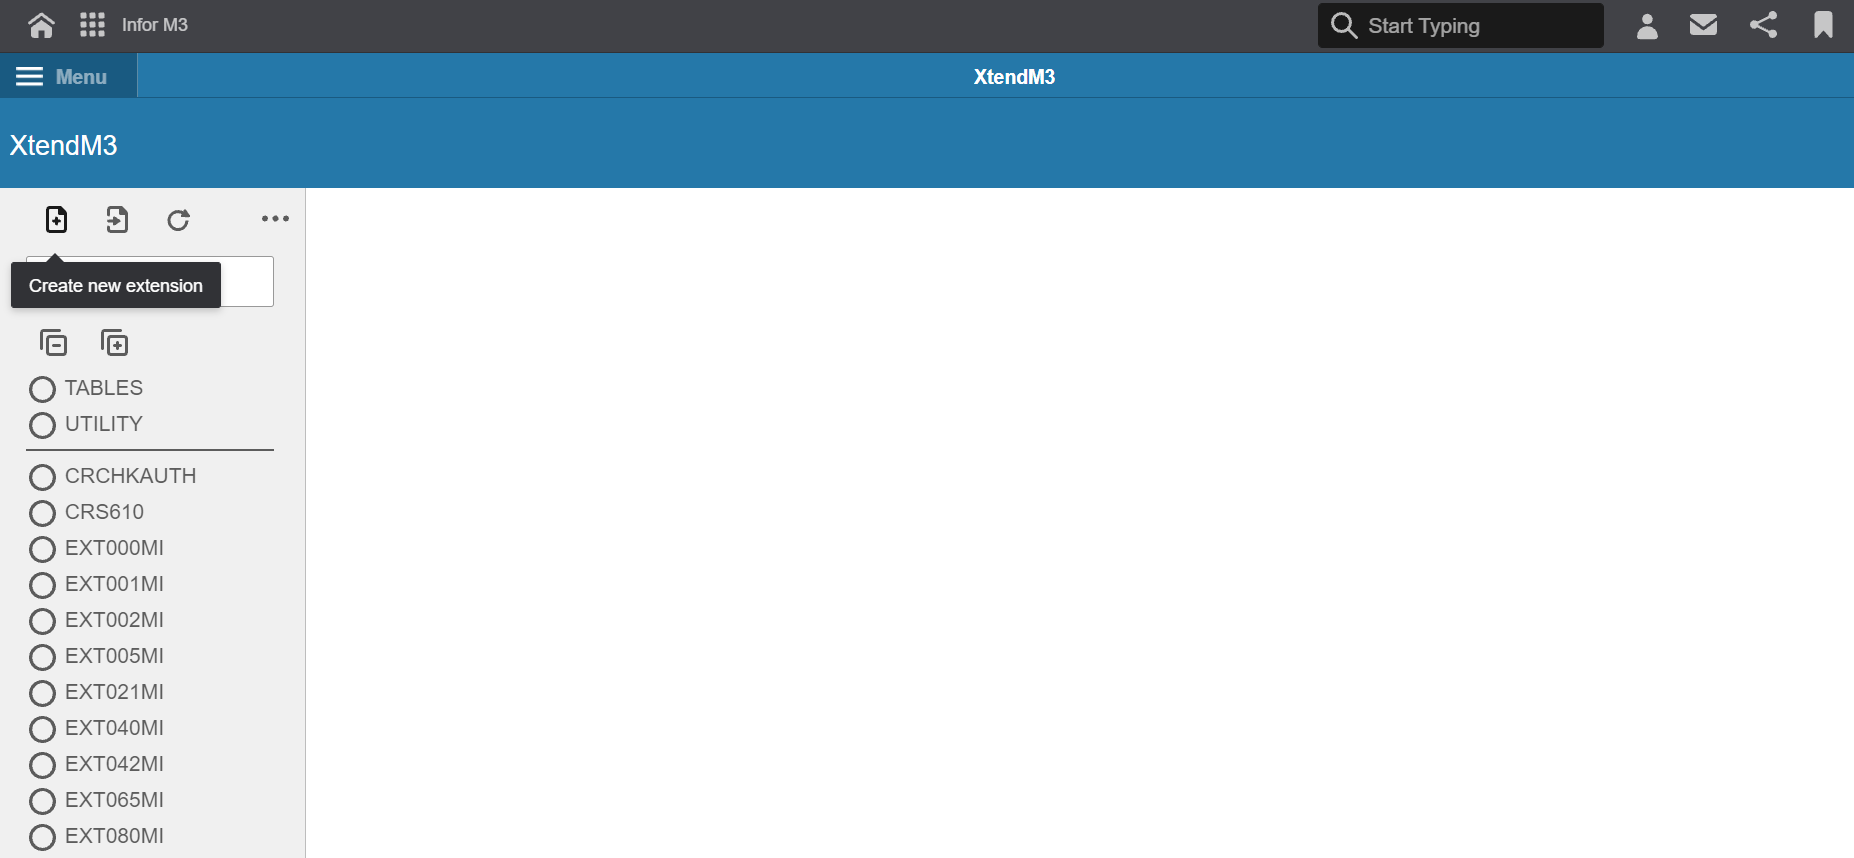
To create a new extension press the “Create new extension button” as shown on the screen below:
2. Extension Type as a dynamic table extension
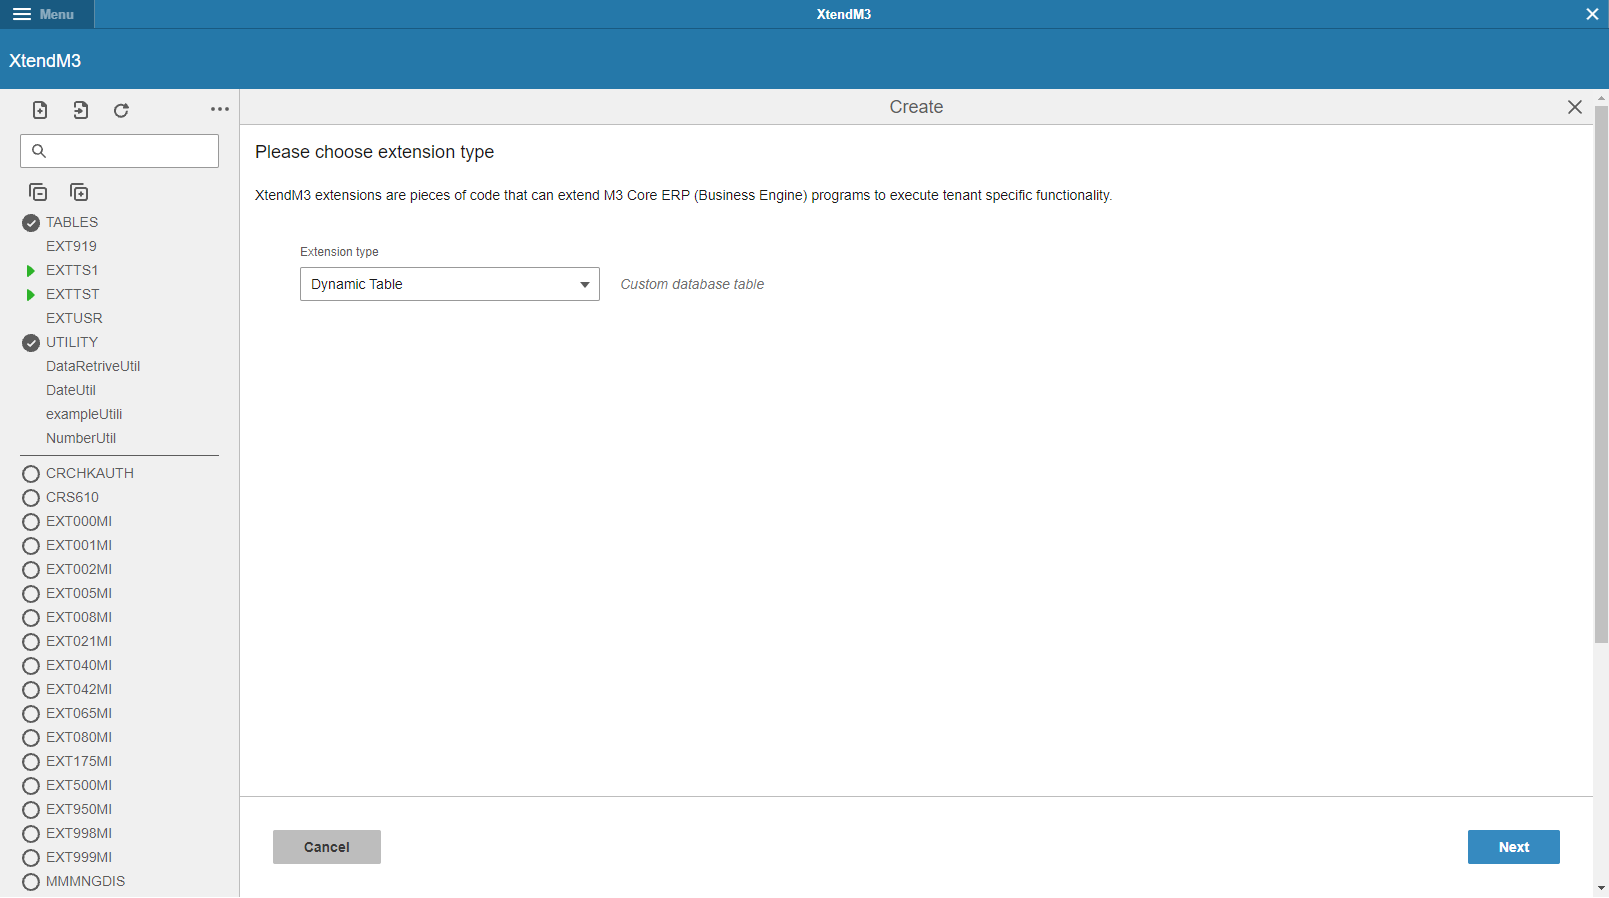
Opened window displays an option to select the type of extension to be designed. Select “Dynamic Table” described as “Custom database table” and then click next.
The next window will require to fill in the name of the dynamic table. It starts from EXT letters and its lenght has to be 6. For the purpose of the example it will be named EXT919.
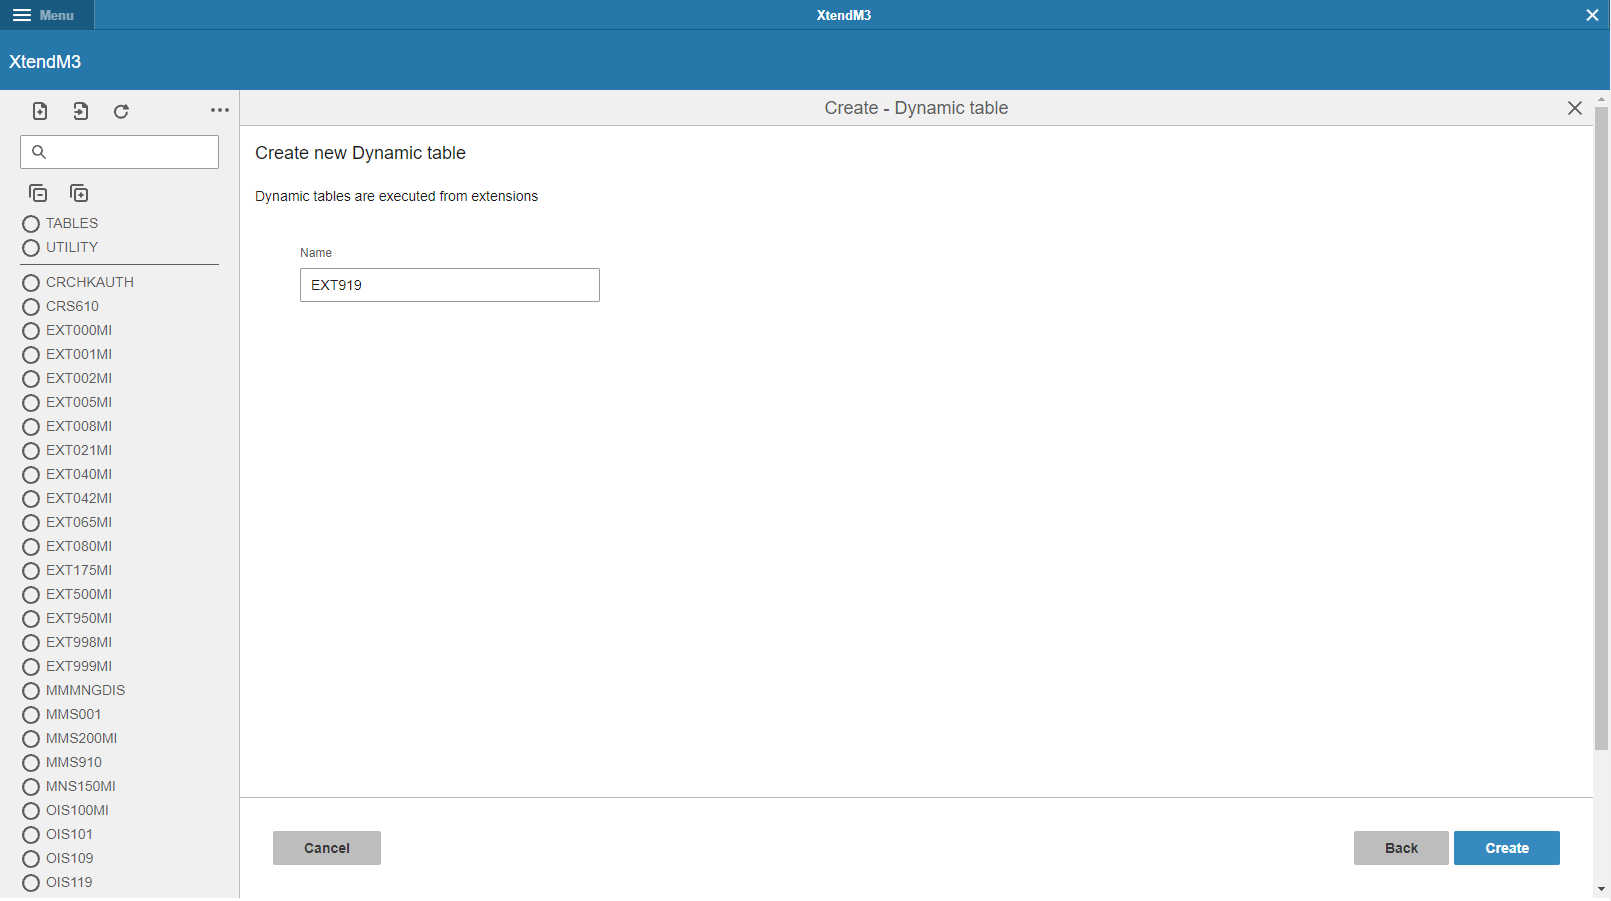
After putting the name of the dynamic table it it possible to create a table using the “create” button.
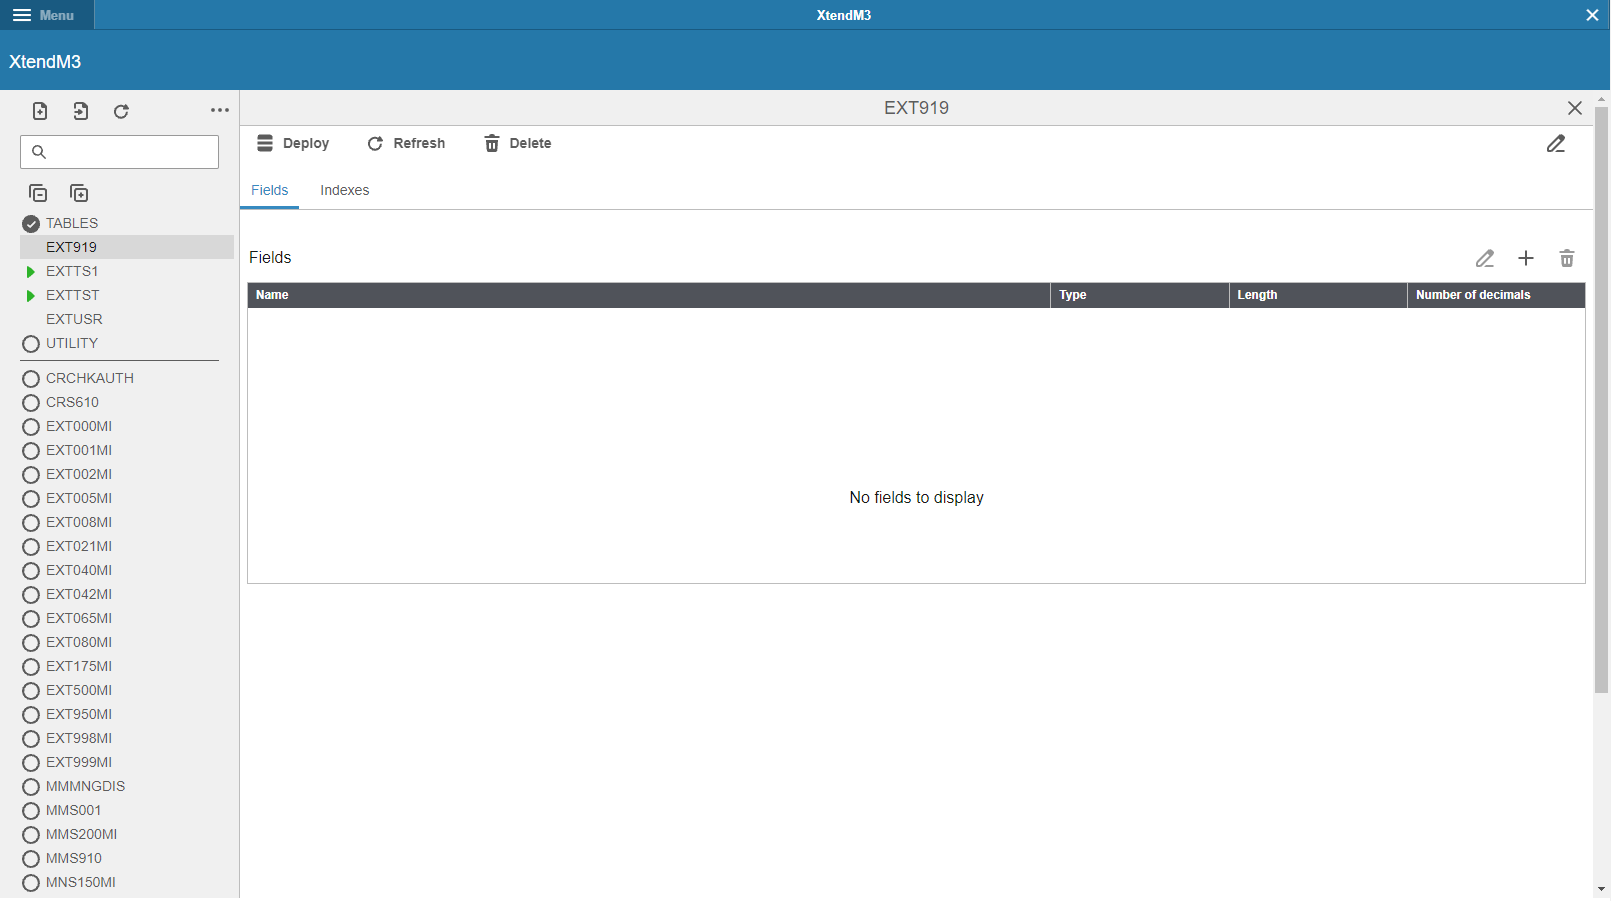
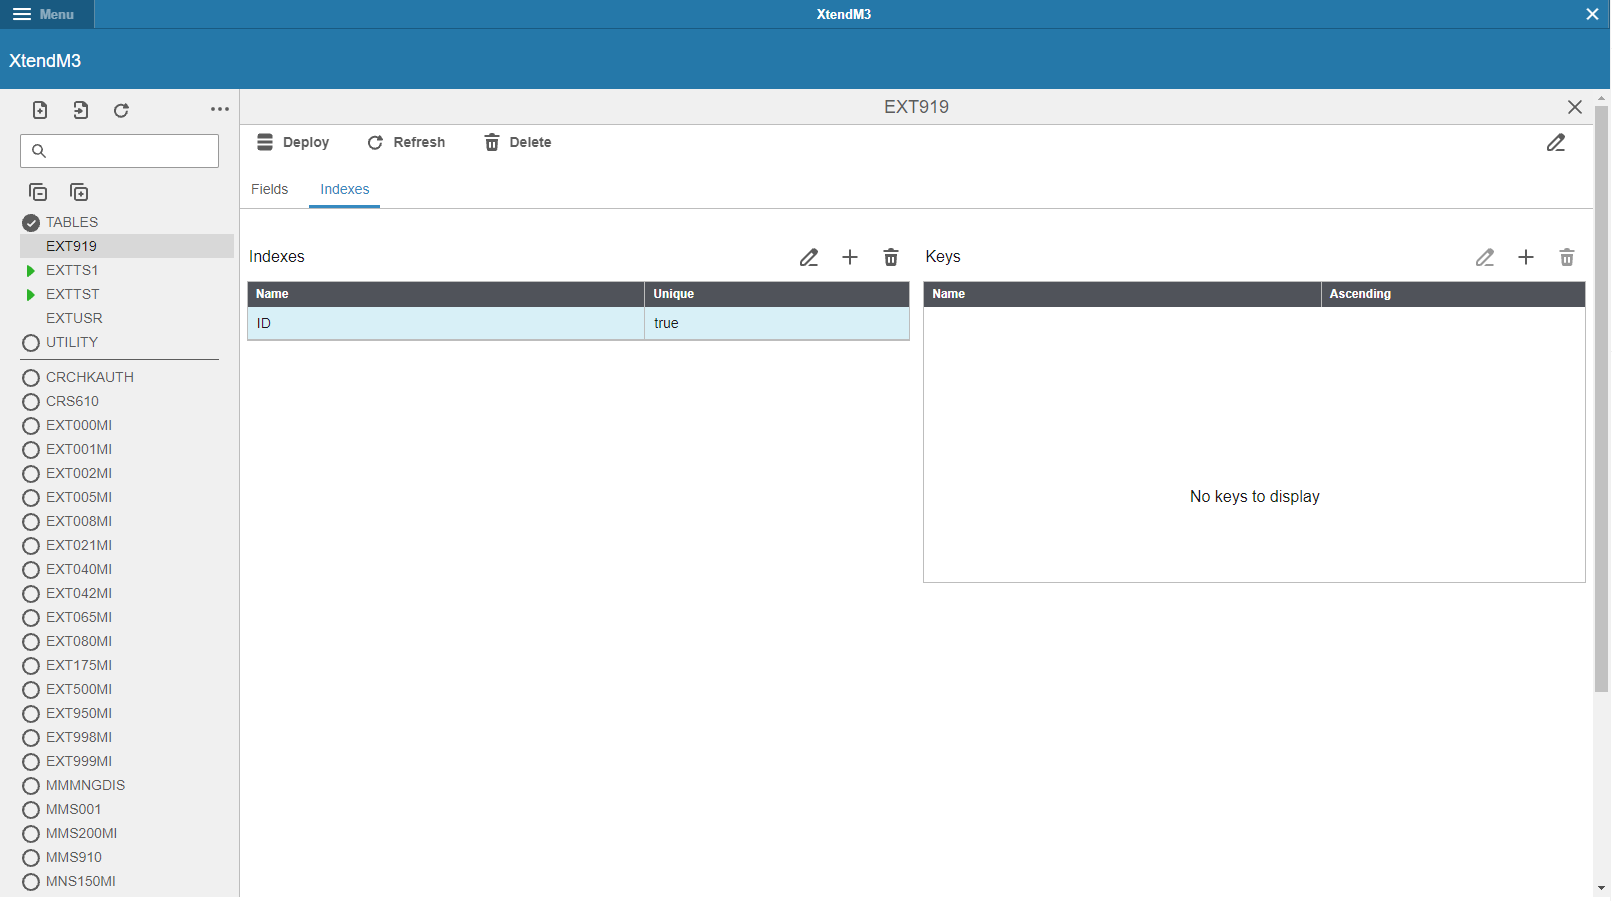
3. Skeleton of the extension
Skeleton of the Dynamic Table Extension is quite simple. It contains two bookmarks. At the first one there is a “fields” table, where it is possible to create fields of dynamic table.
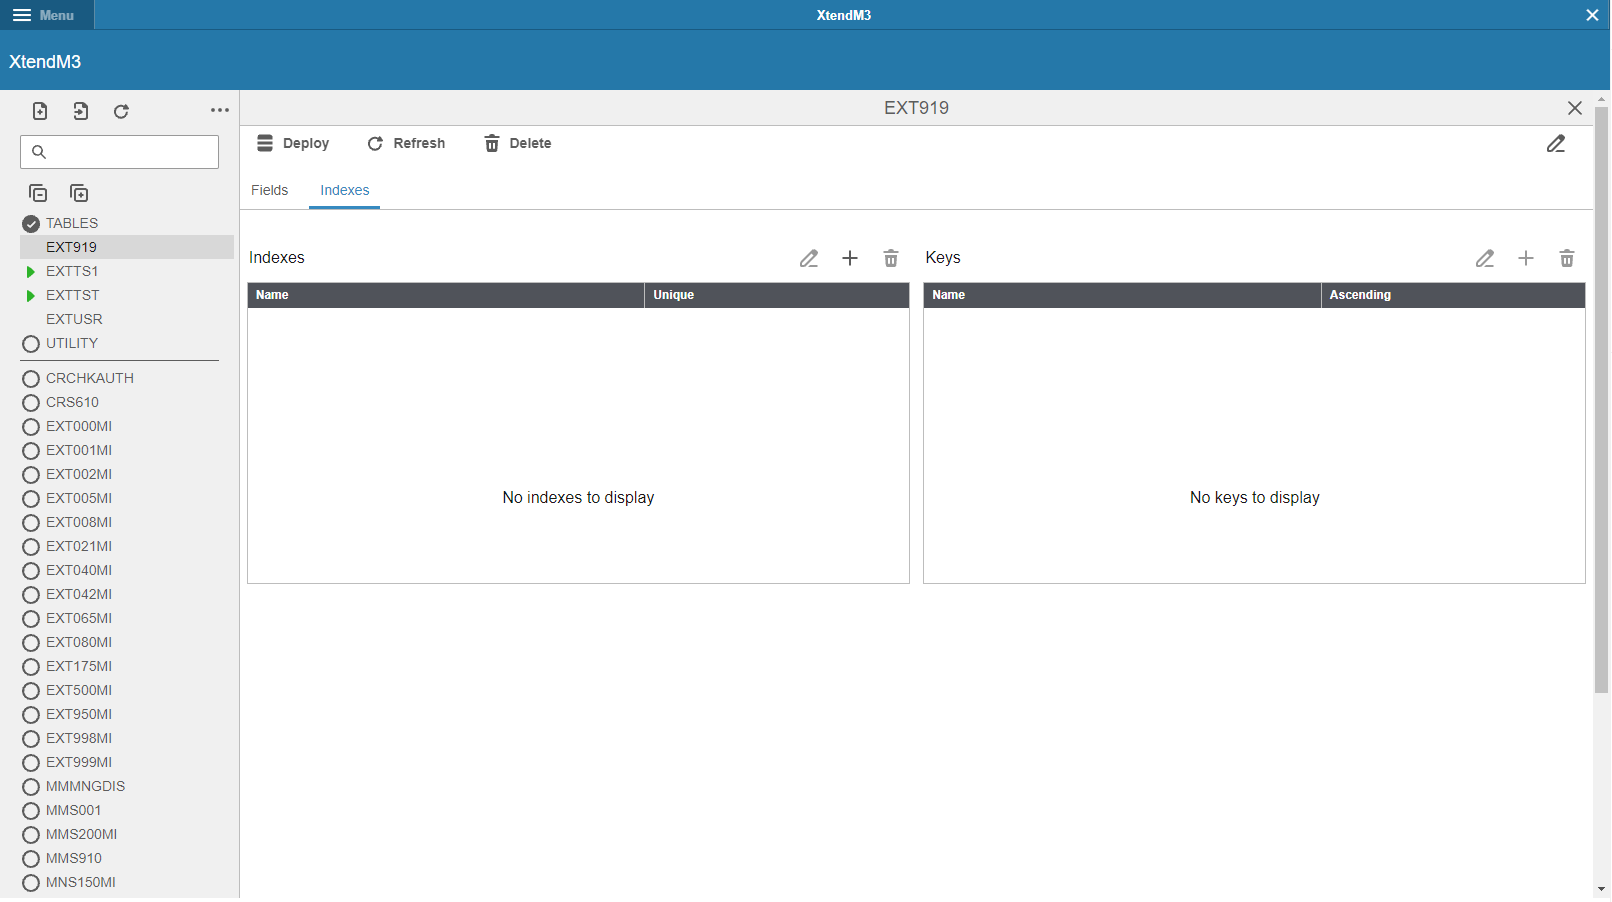
The second page contains two smaller tables - both are connected to each other. The main one is about indexes and the second one is named “keys”. User can create a key for every created index, if it is needed. The key cannot exist without an index.
Over the field/index/keys tables there are several tools by which it is possible to operate on the dynamic table.

Listing them from the left side they are used to:
- enable editing mode
- add new object
- delete the object
4. Description of the dynamic table fields
Fields
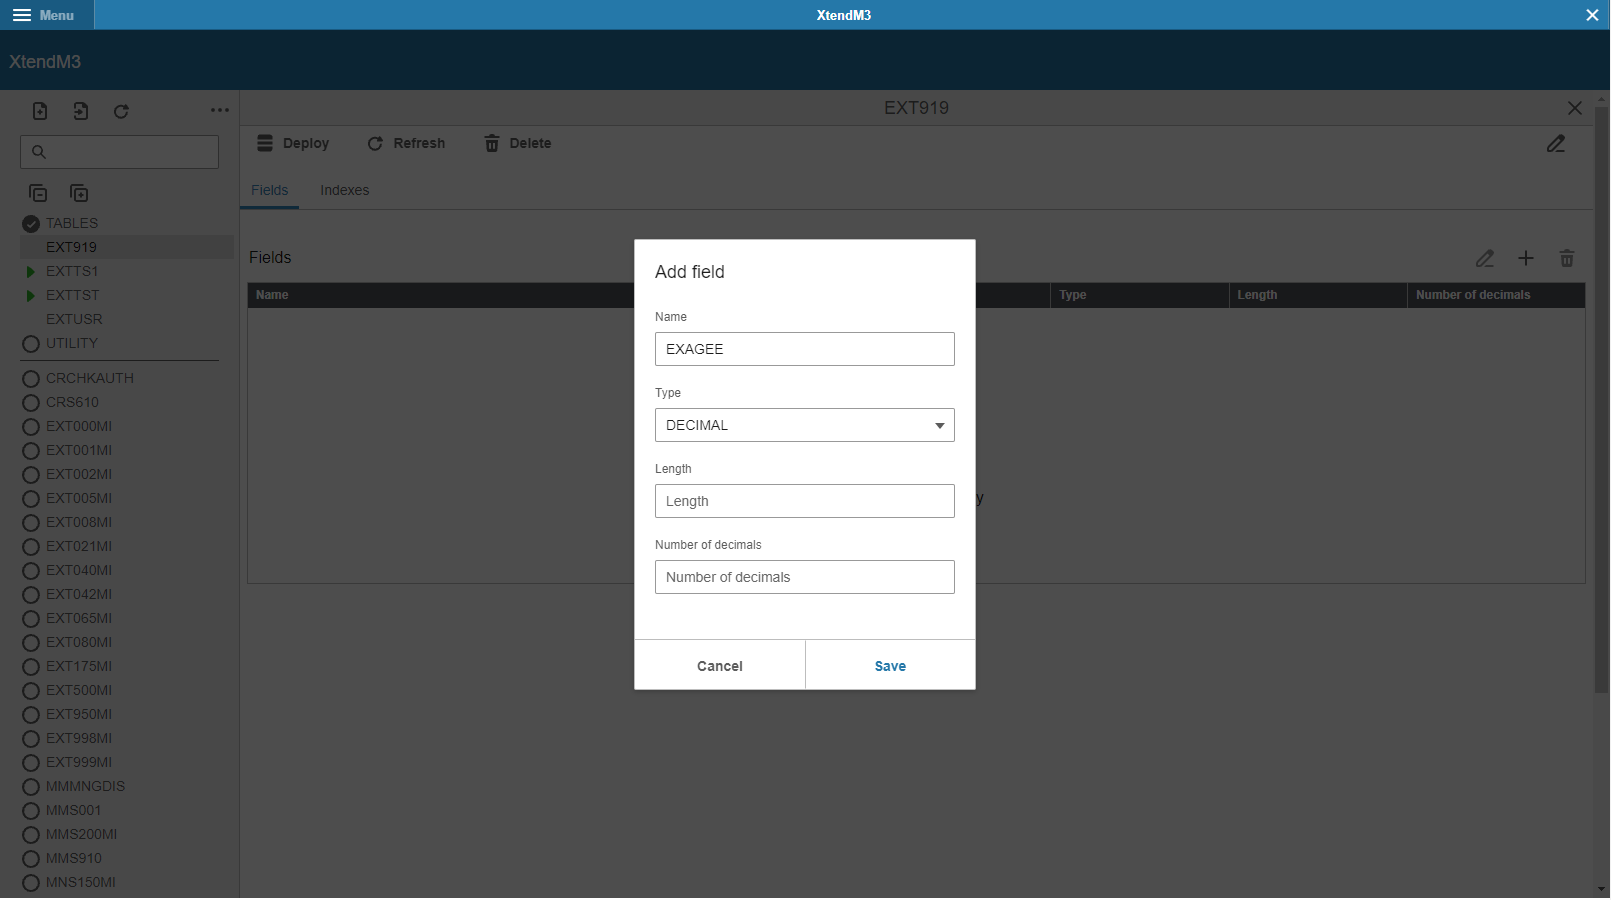
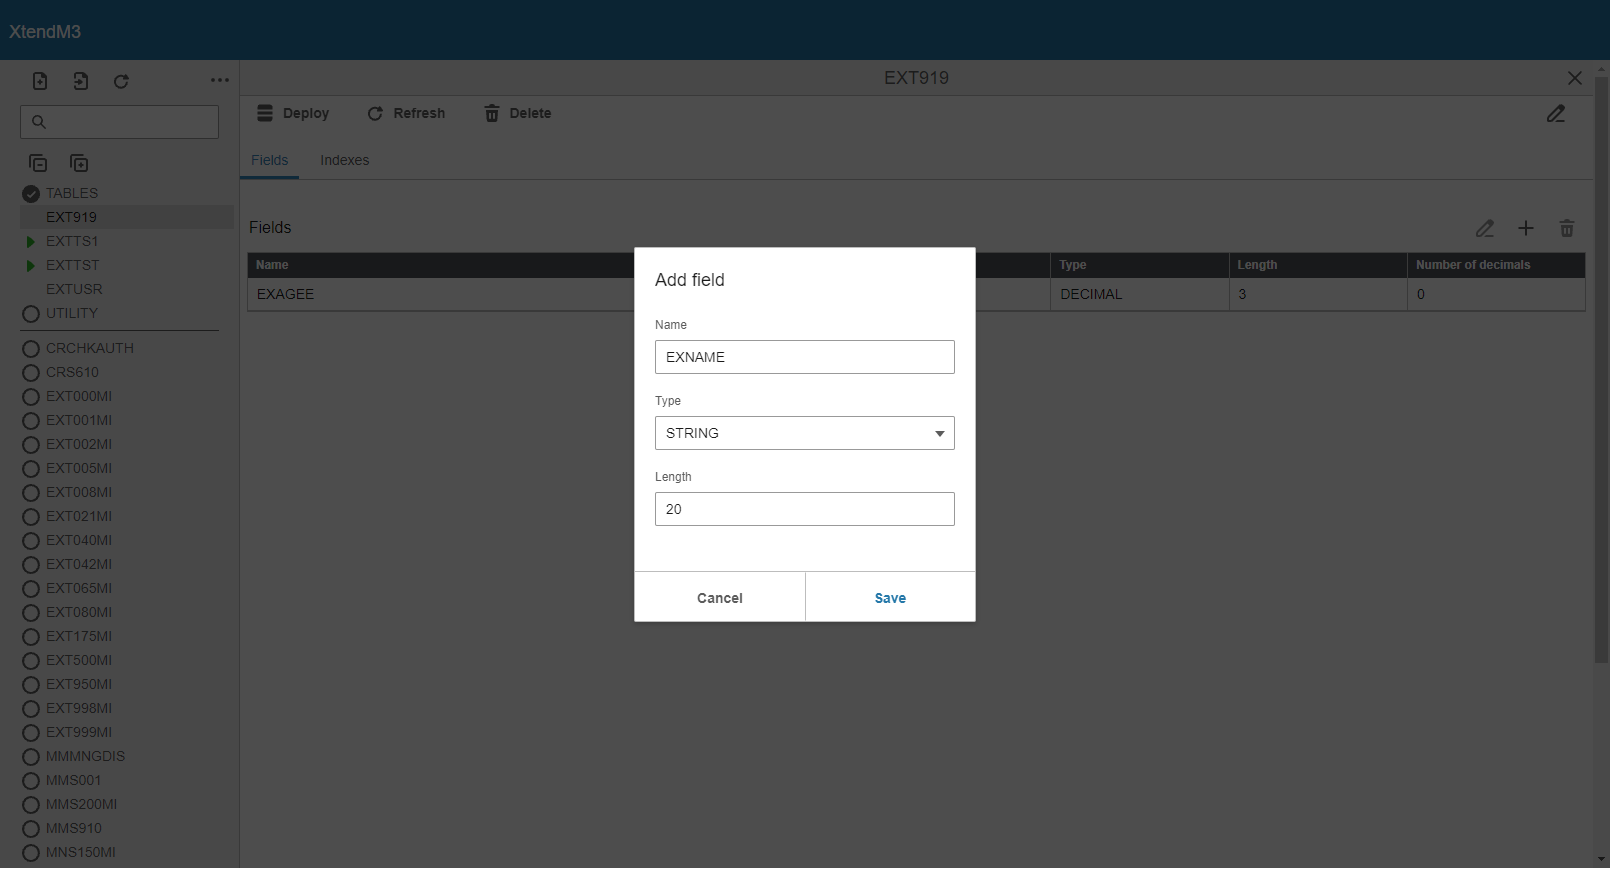
Presented table includes all designed fields inside the dynamic table. Fields can be string or decimals - depends on the design of the dynamic table. For the example purpose there are two fields created: the decimal field named EXAGEE
and the string field named EXNAME
For later development there will be also created another field named EXUSID which will be used for index and key.
Indexes
Presented table includes all designed indexes for the dynamic table. Index just needs a name and it can be unique or not - depends on the usage of the field. There will be an index named ID which will be unique.

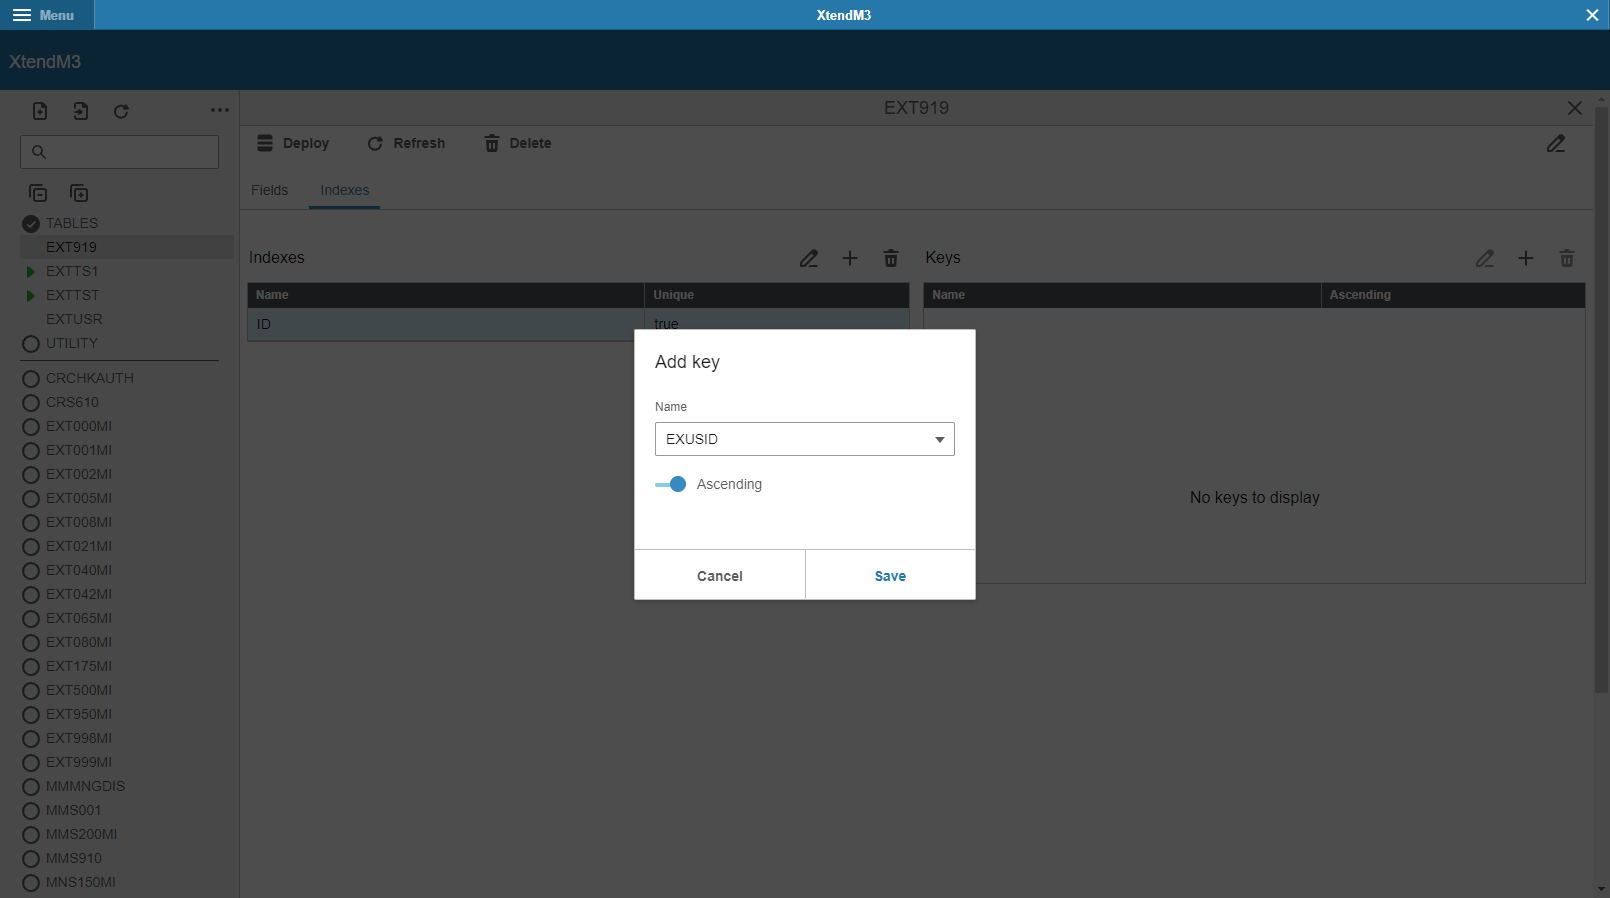
Keys
Presented table includes all designed keys for indexes inside the dynamic table. They can be assigned only for indexes - without them they are unavailable.
To create a key user has to choose the index first.
In the example the chosen index is ID, for which a key will be created. That key will be ascending.
5. Description of the main extension options
On the previous screens there were some other options visible, with which it is possible to operate on the whole extension.

These were:
- Deploy option - Deploy function makes the table active for all the extensions - it is possible to use it. After deploying, the table cannot be deleted, instead of that, new option is visible - disable.
- Refresh option - Refreshes the table after deploying. Before deploying the table, it will clean it.
- Delete option - function allows to delete the table which name was inputted.
- Disable option (invisible) - only available after deploying dynamic table. It disables deployed table.
- Modify (table description) option (on the right side)
6. Deploying new dynamic table
After preparing a new dynamic table, the last thing to do is to deploy the table. The deploy option makes the table visible inside extensions. It implements the prepared dynamic table so that it can be used and perform database operations. It is very important to use the deploy option because by doing so, all modifications are being saved. After any further modifications of the table, it needs to be deployed again to see these changes.
Example of dynamic table extension
Dynamic table extensions gives the opportunity to enhance the efficiency of the data operations, with the possibility to create custom tables. They can be used in many different cases depending on the data’s usage.
- It can be created in every moment of designing the extension, even after the extension is completed and there are some data modifications needed.
- Increased flexibility for program data.
- Dynamic tables can cooperate with multiple extensions.
Important notes
- It is a good practice to use a test compilation of the program just to check if everything is working properly.
- Data presented in the examples are random.
- Always test the examples for your own solution before using them in production.
See Also
Another examples with documentation (click)